
Are you looking to add a burst of crisp, peppery flavor to your salads and sandwiches? Look no further than the radish! These fast-growing vegetables are not only easy to cultivate but also incredibly rewarding for beginner and experienced gardeners alike. In this guide, we’ll walk you through the steps to grow radishes from seed to harvest, ensuring a plentiful supply of these crunchy delights in your garden.
Step 1: Choosing the Right Seeds
Before you embark on your radish-growing journey, it’s essential to select the right seeds for your garden. Radish seeds come in a variety of shapes, sizes, and colors, so consider factors such as your climate, available space, and taste preferences. Popular varieties include Cherry Belle, French Breakfast, and Daikon radishes, each offering a unique flavor profile and culinary versatility.
Step 2: Preparing the Soil
Radishes thrive in loose, well-draining soil with plenty of organic matter. Begin by preparing your garden bed or containers, ensuring that the soil is free from rocks, weeds, and debris. If your soil is heavy or compacted, consider amending it with compost or well-aged manure to improve its texture and fertility. Radishes prefer a slightly acidic to neutral soil pH, ideally between 6.0 and 7.0.
Step 3: Planting the Seeds
Once your soil is prepared, it’s time to plant your radish seeds. Sow the seeds directly into the garden bed or containers, planting them approximately ½ inch (1 cm) deep and 1 inch (2.5 cm) apart. If planting in rows, space the rows 6-12 inches (15-30 cm) apart to allow ample room for growth. Radishes are cool-season crops and can be planted as soon as the soil can be worked in the spring, and again in the fall for a second harvest.
Step 4: Providing Proper Care
Radishes are relatively low-maintenance plants, but they do require consistent care to thrive. Ensure that the soil remains evenly moist throughout the growing season, watering regularly to prevent it from drying out. Radishes prefer full sun but can tolerate partial shade, so choose a location that receives at least 6-8 hours of sunlight per day.
Step 5: Thinning and Fertilizing
As your radish seedlings begin to emerge, thin them out to ensure proper spacing. Most radish varieties should be thinned to 2-3 inches (5-7.5 cm) apart to allow room for the roots to develop fully. Additionally, consider fertilizing your radishes with a balanced fertilizer according to package instructions. Avoid over-fertilizing with nitrogen, as this can lead to lush foliage at the expense of root development.
Step 6: Pest and Disease Management
Keep an eye out for common pests such as flea beetles, aphids, and cabbage root maggots, which can damage radish plants. Control these pests using organic methods such as insecticidal soap or row covers. Rotating crops annually can also help prevent the buildup of pests and diseases in the soil.
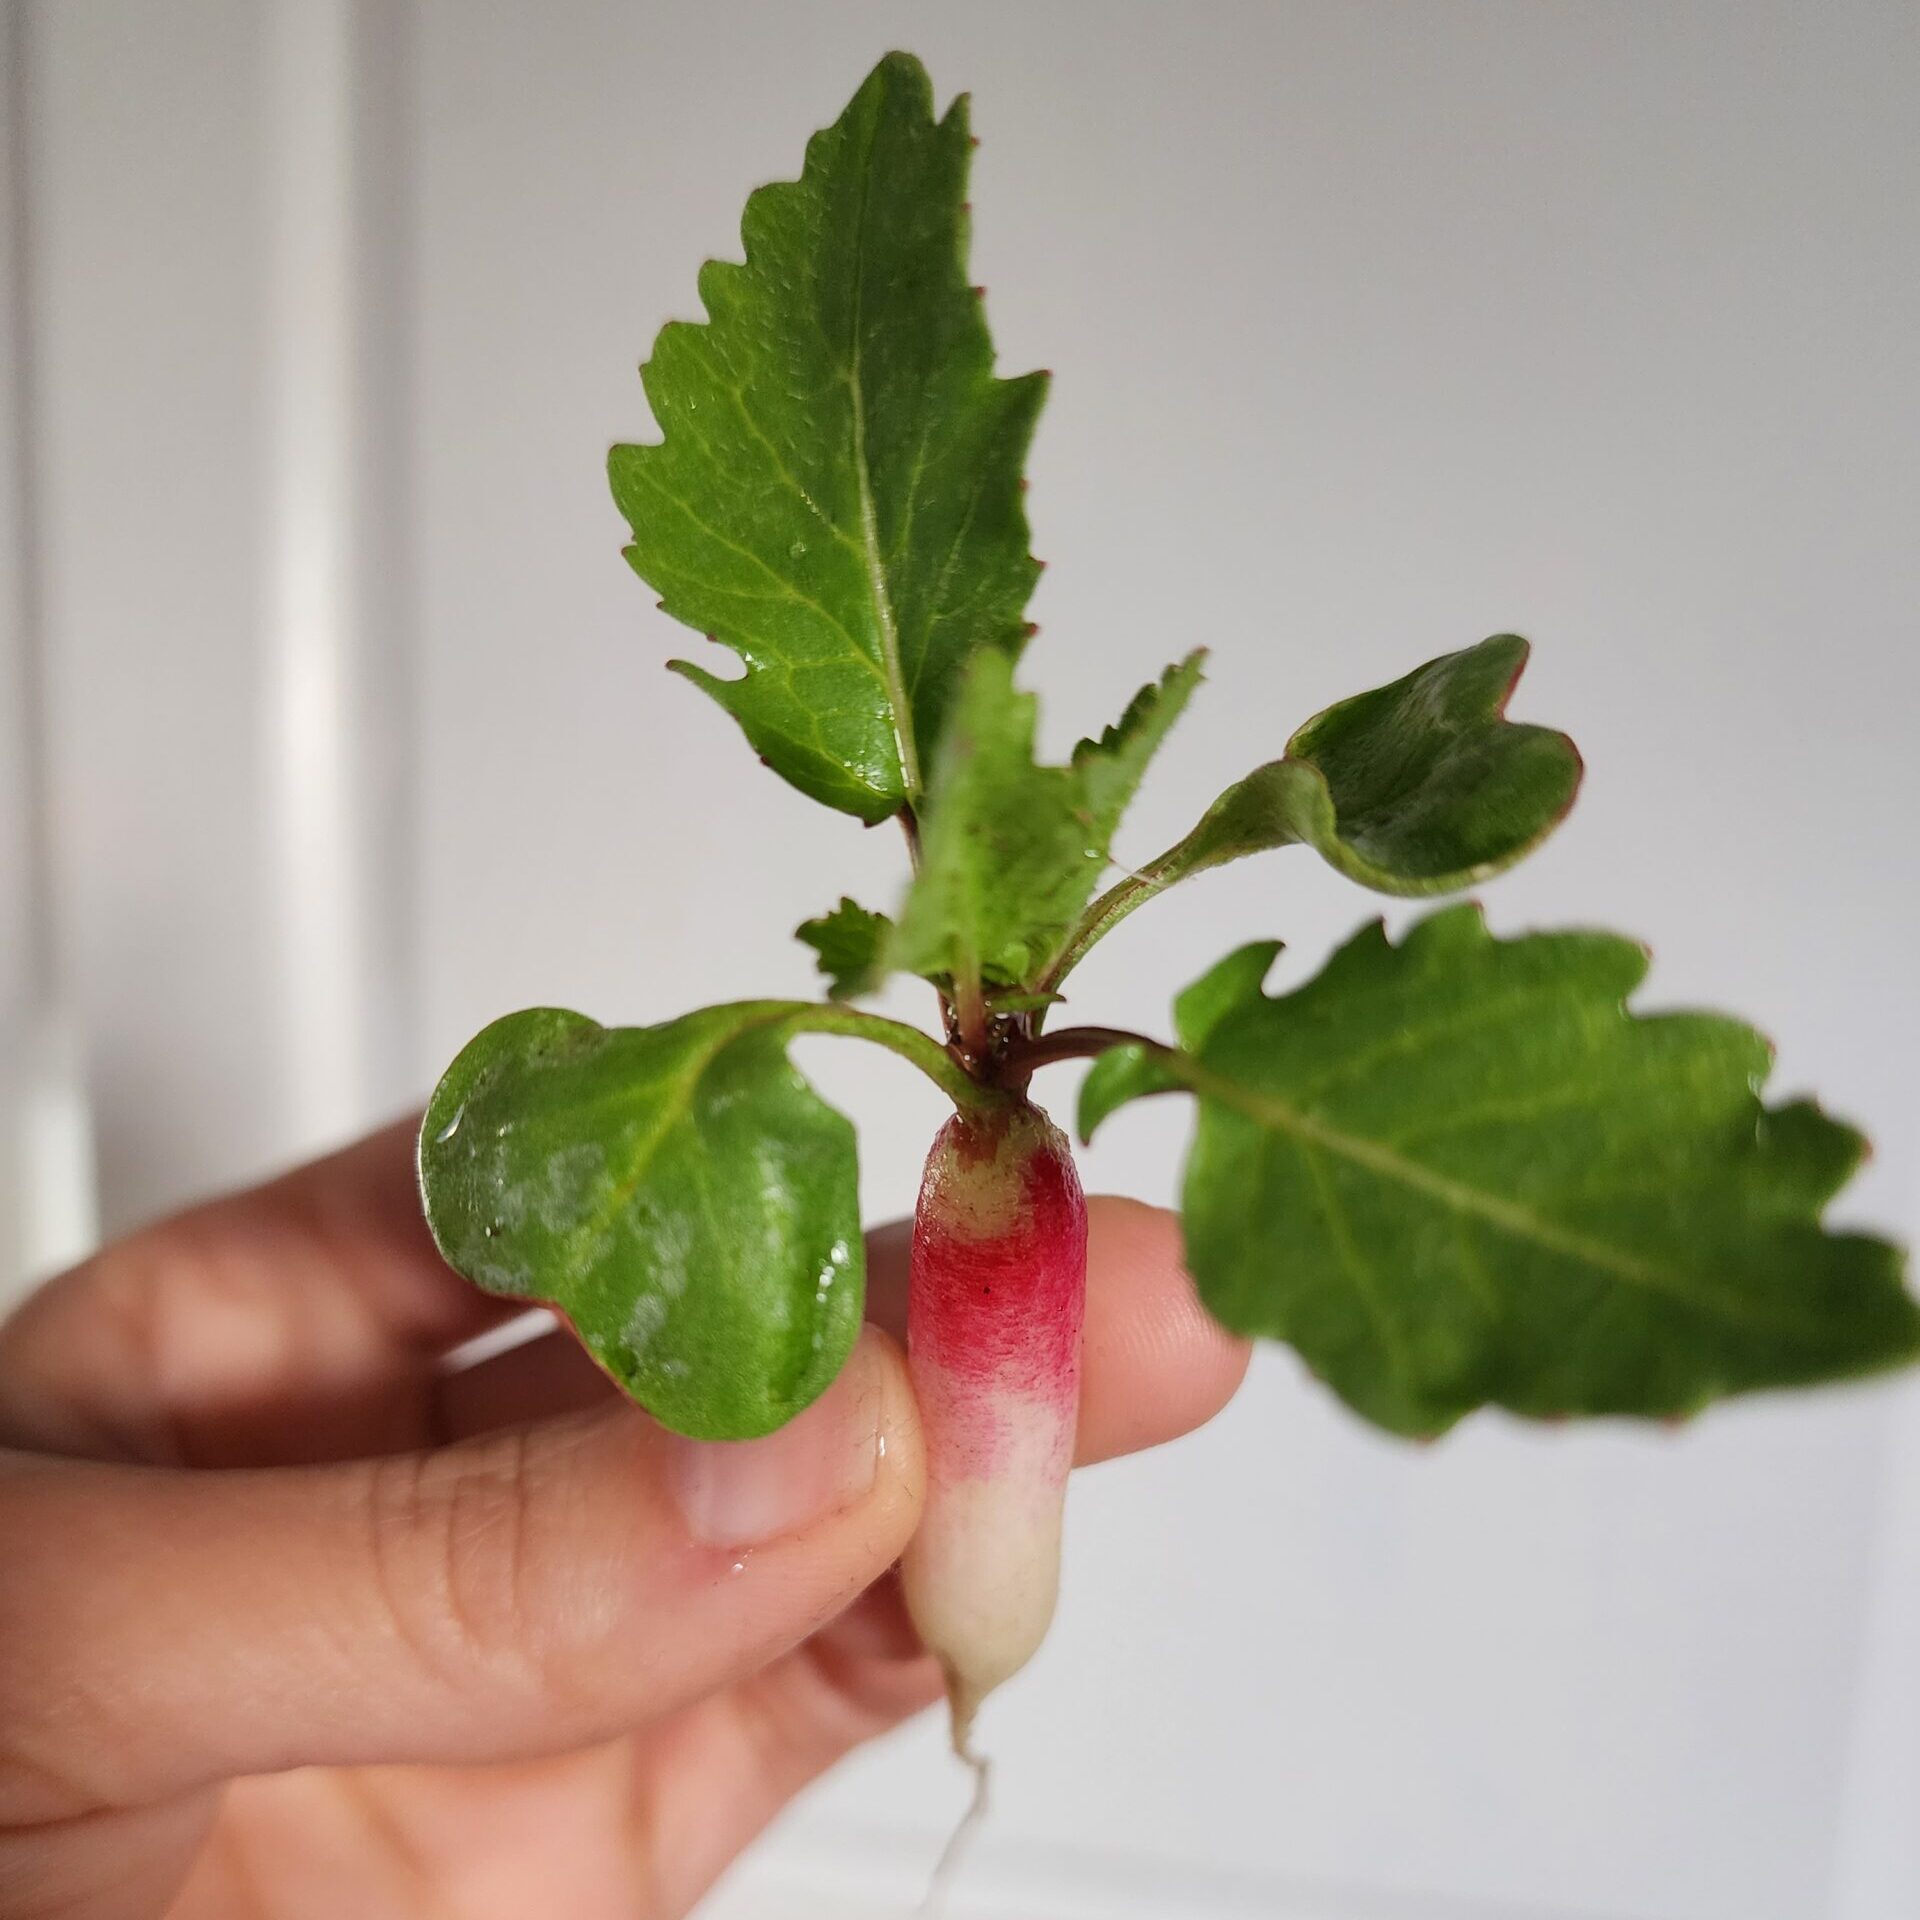
Step 7: Harvesting
Depending on the variety, radishes are typically ready to harvest within 3-4 weeks of planting. Harvest them when they reach their mature size, usually about 1-2 inches (2.5-5 cm) in diameter, although this can vary. To harvest, gently pull the radishes from the soil, taking care not to damage neighboring plants.
By following these simple steps, you’ll be well on your way to enjoying a bountiful harvest of crisp, peppery radishes straight from your garden. Happy gardening!
Leave a Reply