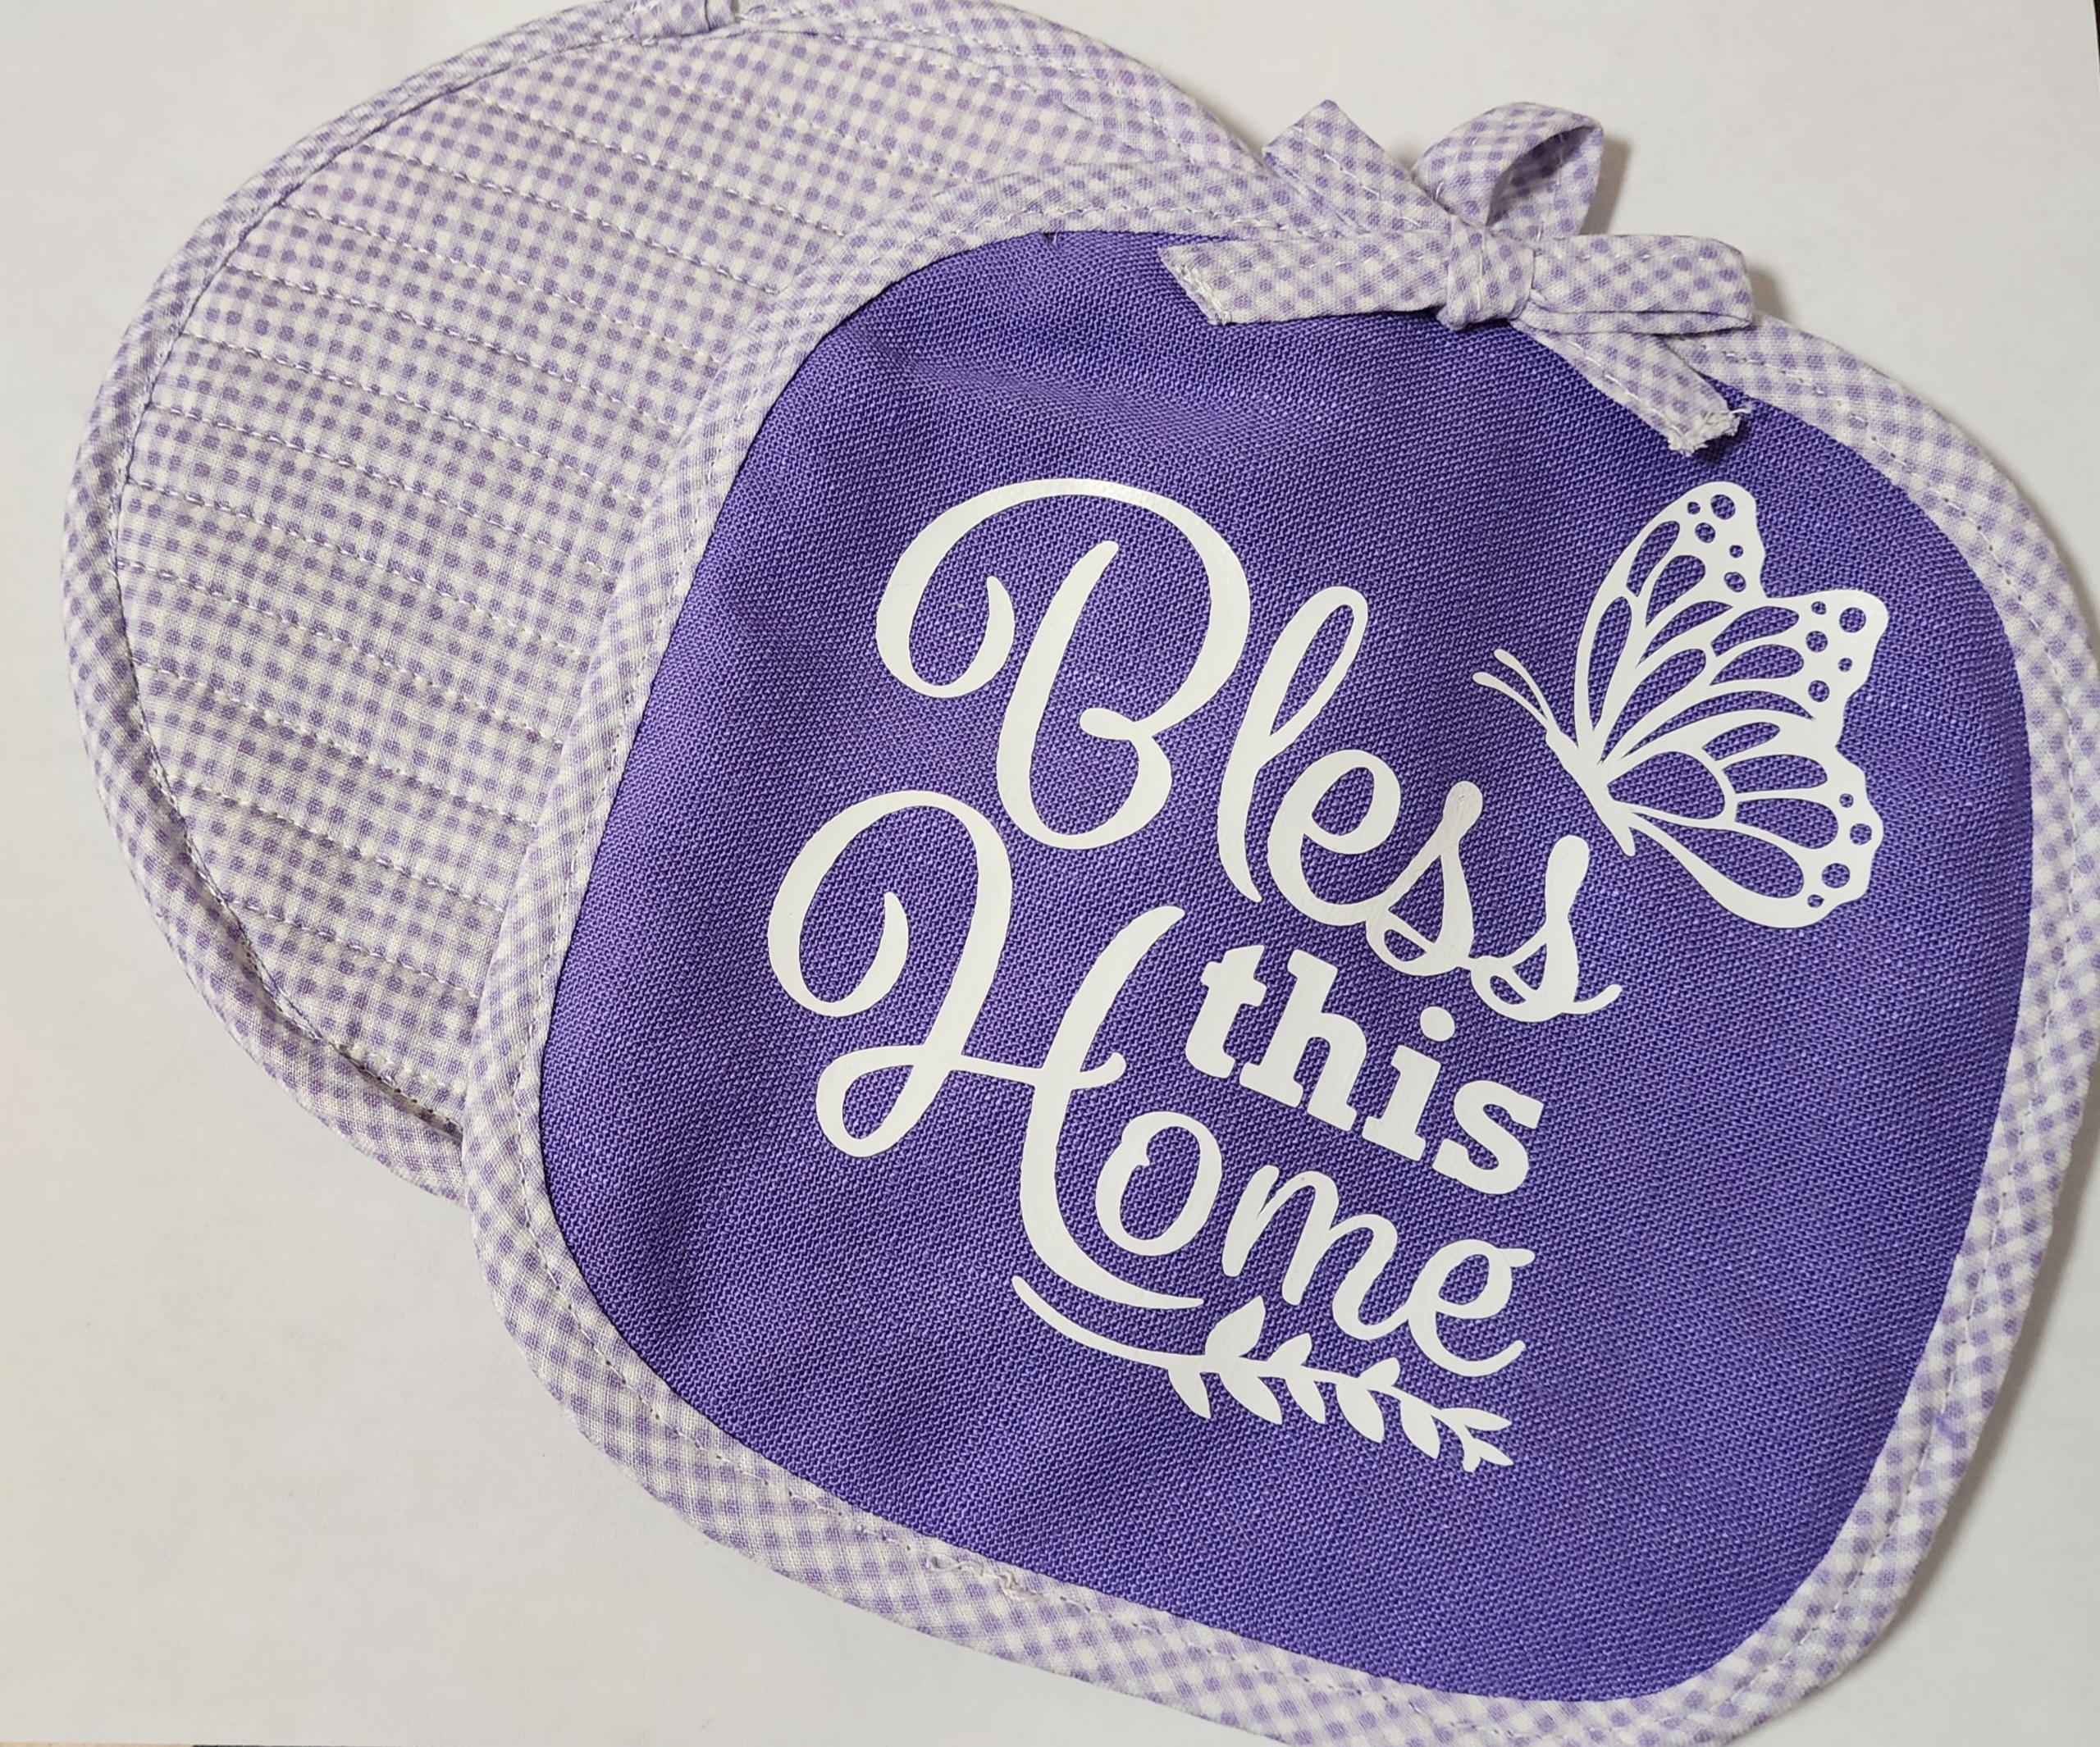
There’s something truly special about adding handmade touches to our homes, especially when those creations serve both a practical purpose and a decorative flair. In today’s DIY adventure, we’ll dive into the delightful world of crafting by learning how to make a charming pot holder. With just a few simple materials and a touch of creativity, you can whip up a practical and stylish accessory that will add a cozy vibe to your kitchen and make those cooking sessions even more enjoyable.

Materials You’ll Need:
- Fabric: Choose a sturdy fabric for the main body of the pot holder, such as cotton or canvas. You’ll need two pieces, each measuring around 8×8 inches (20×20 cm).
- Insulated Batting: This is what will protect your hands from the heat. Look for insulated batting specifically designed for pot holders or oven mitts.
- Backing Fabric: Another piece of fabric for the back of the pot holder, also around 8×8 inches (20×20 cm).
- Thread: Opt for a strong thread that complements your chosen fabric.
- Sewing Machine or Needle and Thread: Depending on your preference and sewing skills.
- Scissors, Pins, and a Ruler: Essential tools for cutting and measuring your fabric.
Step-by-Step Guide:
1. Prepare Your Materials:
Start by washing and ironing your fabric to ensure it’s clean and free of wrinkles. Then, gather all your materials and clear a workspace where you can comfortably spread out and work.
2. Cut Your Fabric:
Use your ruler and scissors to cut two squares of fabric for the front and back of the pot holder, each measuring 8×8 inches (20×20 cm). You’ll also need to cut a piece of insulated batting to the same size.
3. Layer Your Materials:
Place one piece of fabric right side up on your work surface. Position the insulated batting on top of it, followed by the second piece of fabric right side down. You should now have a fabric-insulated batting-fabric sandwich.
4. Pin and Sew:
Carefully pin the layers together around the edges to keep them in place. Then, using a sewing machine or needle and thread, stitch around the perimeter of the pot holder, leaving a small opening for turning.
5. Trim and Turn:
Trim any excess fabric and batting from the edges, being careful not to cut into your stitches. Then, gently turn the pot holder right side out through the opening you left, using a pencil or chopstick to help push out the corners and smooth the edges.
6. Finish the Edges:
Fold in the raw edges of the opening and press them flat with an iron. Then, topstitch around the entire perimeter of the pot holder to close the opening and give it a neat, finished look.
7. Add a Hanging Loop (Optional):
To make it easy to hang your pot holder when it’s not in use, you can sew a small loop of fabric into one corner. Simply cut a strip of fabric, fold it in half lengthwise, and stitch it securely to the corner of the pot holder.
8. Personalize and Embellish (Optional):
Get creative with embellishments to add a personal touch to your pot holder. You could embroider a design, appliqué a cute motif, or add decorative trim along the edges—the possibilities are endless!
9. Test and Enjoy:
Once your pot holder is complete, give it a test run by grabbing a hot pot or pan from the stove. Feel the satisfaction of knowing you’ve created a practical and stylish accessory that not only protects your hands but also adds a touch of handmade charm to your kitchen.
10. Share the Joy:
Spread the joy of crafting by sharing your handmade pot holders with friends and family. They make wonderful gifts for housewarmings, birthdays, or any occasion where a little homemade love is appreciated.
With just a few simple materials and some basic sewing skills, you can create a delightful pot holder that adds a touch of warmth and personality to your kitchen. So gather your supplies, unleash your creativity, and let the crafting fun begin!


Leave a Reply